Filtering Contact Lists
July 16, 2024Overview
ClientTether CRM provides robust filtering options to help users manage and organize their contact lists effectively. This guide will walk you through the steps to apply filters to your contact lists, enhancing your ability to find specific contacts based on various criteria.
Accessing the Filter Options
- Navigate to the Contact List Page
- Log in to your ClientTether account.
- Click on the
Contactsmenu to navigate to your contact list.
- Open the Filter Panel
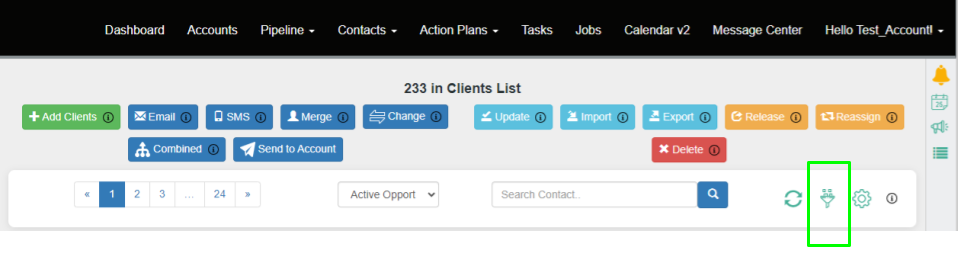
- Locate the filter icon near the top right of the page (as shown in Image 2).
- Click on the filter icon to open the filtering options.
Applying Filters
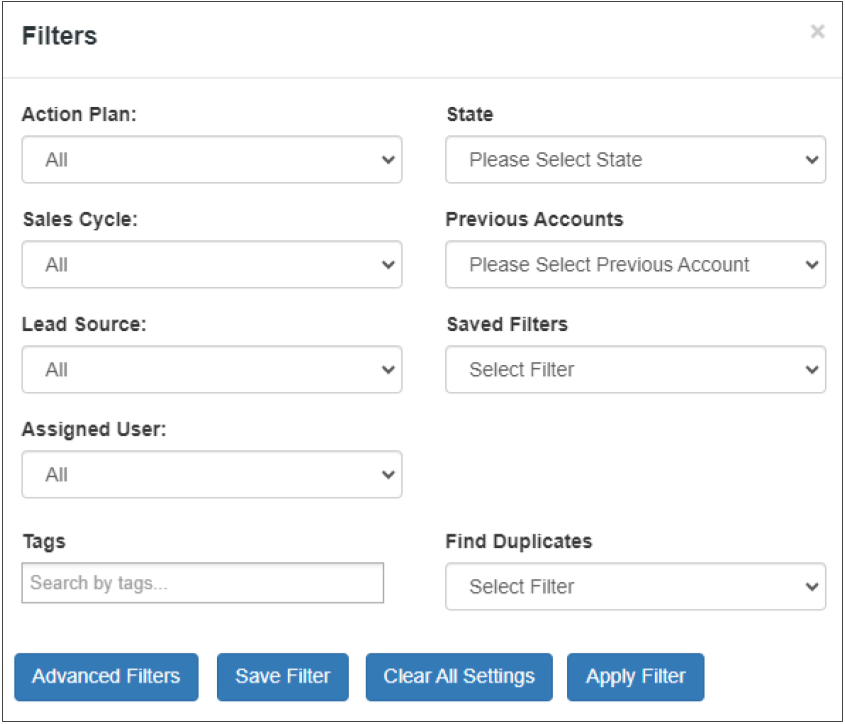
Once the filter panel is open, you will see various filtering options (as shown in Images 1 and 3). You can apply one or multiple filters based on the following criteria:
- Action Plan
- Select an action plan from the dropdown menu to filter contacts associated with a specific action plan.
- State
- Choose the desired state to filter contacts based on their location.
- Sales Cycle
- Filter contacts by selecting a specific stage in the sales cycle.
- Previous Accounts
- Select a previous account to filter contacts linked to that account.
- Lead Source
- Use the dropdown menu to choose a lead source. This allows you to filter contacts based on how they were sourced (e.g., Facebook, Home Advisor, etc.).
- Assigned User
- Select an assigned user to filter contacts managed by a specific team member.
- Tags
- Enter tags to filter contacts associated with specific tags.
- Saved Filters
- Choose from your saved filters to quickly apply pre-defined filter settings.
- Find Duplicates
- Use this option to identify and filter duplicate contacts based on selected criteria.
Saving and Applying Filters
- Save Filter
- After setting your desired filters, click on the
Save Filterbutton to save the current filter settings for future use.
- After setting your desired filters, click on the
- Clear All Settings
- To reset all filter settings, click the
Clear All Settingsbutton.
- To reset all filter settings, click the
- Apply Filter
- Click on the
Apply Filterbutton to apply the selected filters to your contact list.
- Click on the
Example
Step-by-Step Example of Applying a Lead Source Filter
- Open the Filter Panel
- Click on the filter icon near the top right of the contact list page.
- Select Lead Source
- In the filter panel, locate the
Lead Sourcedropdown menu. - Click on the dropdown menu and select a lead source (e.g., Facebook).
- In the filter panel, locate the
- Apply the Filter
- Click on the
Apply Filterbutton to view the contacts filtered by the selected lead source.
- Click on the
Filter By Lead Source (unassigned)
Choosing No Lead Source Selected will show leads that do not have any lead source assigned and leads that have a lead source that belongs to another account.

4o