Hosted Pages: New Meeting Scheduler
March 30, 2023The New Meeting Scheduler replaces the previously released Online Scheduler, which will be removed once we get all Users converted.
There are three main steps to using Hosted Pages.
– Set-up the Hosted Page: New Meeting Scheduler
– Assign the Hosted Page Token to a Template
– Send the message to a Contact
In the video above, step 1 and 3 are described. Step 2 is covered in a video regarding Templates.
Simplify Your Scheduling Process with New Meeting Scheduler
We are excited to announce the latest addition to our platform that will simplify your scheduling needs. With the New Meeting Scheduler in ClientTether, managing your schedule and appointments is easier than ever before. Here are the advantages that come with our New Meeting Scheduler:
Effortless Booking Experience: With our New Meeting Scheduler, your clients can quickly and easily book appointments without the need for back-and-forth emails or phone calls. The form prefills with contact information, which reduces data entry and provides a more professional experience.
One Scheduler form for New Leads and Existing Contacts: Our New Meeting Scheduler can be used for both new leads and existing contacts, which makes it convenient to manage all of your appointments in one place.
Access to Event and Action Plans: The New Meeting Scheduler gives you direct access to Event and Action Plans, so you can communicate with your clients more effectively.
Customizable Scheduling Page: You can customize your scheduling page to reflect your brand and business. It uses your ClientTether header settings, allows you to change the icon colors, and personalize the messaging. This makes the scheduling process more professional and consistent with your brand.
Automated Reminders: New Meeting Scheduler attaches Event Plans and Action Plans to send automated reminders to your clients regarding their appointment. This reduces the likelihood of missed appointments and saves you time and effort. With Event and Action Plan, you can set reminders to be sent a day, hour, or even minutes before the appointment.
Calendar Integration: The New Meeting Scheduler checks with your ClientTether Calendar, which in turn can sync with Google and Outlook Calendars. This means that when a client books an appointment with you, it will automatically appear on your calendar on whatever device you use. This eliminates the need for manual data entry and reduces the risk of double-bookings.
Real-Time Availability: Your clients can see your real-time availability when booking an appointment. This means that they can choose a time that works for them without the need for back-and-forth communication.
With the New Meeting Scheduler in ClientTether, you can save time, reduce confusion, and provide your clients with a seamless booking experience. Plus, with our customizable scheduling page, you can ensure that your brand is consistent throughout the entire customer journey.
In conclusion, our New Meeting Scheduler feature is a game-changer for businesses looking to streamline their scheduling process. Try our scheduling feature today and see the difference it can make for your business.
ClientTether Meeting Scheduler Feature Documentation
Overview
ClientTether’s meeting scheduler is designed to optimize your daily schedule by grouping appointments within a reasonable drive time. This ensures that your appointments are efficiently managed, minimizing travel time and maximizing productivity.
Setting Up the Meeting Scheduler
- Accessing the Meeting Scheduler
- Navigate to the “Hosted Page -> Add/Edit ” section in your ClientTether Settings.
- You can either create a new meeting schedule or edit an existing one.
- Meeting Details
- Meeting Name: Enter the name of the meeting.
- Description: Provide a brief description of the meeting.
- Appointment Length: Set the duration of the appointment.
- Wrap-up Time: Specify the time required to wrap up after the meeting and drive to the next.
- Advance Notice: Choose how much notice you need before the meeting.
- Users: Select the users involved in the meeting.
- Type: Choose the type of meeting location:
- At my office location – Enter Office Address
- At contact’s location – Enter Default Address (starting location)
- At phone-click to call
- Video conference – Enter Video Conference URL
- Notes Label: Add any specific notes related to the meeting.
- Appointment Theme Color: Select a theme color for the appointment.
- Appointment Font Color: Select a font color for the appointment.
- Optimizing the Schedule
- Drive Time Calculation: The scheduler computes the drive time between appointments to keep them grouped by geolocation. This helps in avoiding long travel times between meetings.
- Wrap-up/Drive Time: Set the wrap-up and drive time to ensure there is enough time between appointments for travel.
- Default Address: Specify your starting address for the day. The first appointment scheduled on a day sets the geolocation for that day, and all subsequent appointments will be arranged around this location.
- Configuring Days and Time Slots
- Expand the “Available Days/Time of Day” section to restrict the days and times offered for appointments.
- This ensures that potential site opportunities are only offered within your available time slots.
Example Scenario
Imagine you are managing a territory in the Denver Metro area, with appointments that could range from Fort Collins to Colorado Springs. The drive time from one end to the other can be over 2 hours. By using ClientTether’s schedule optimizer, you can ensure that your appointments are grouped by location, minimizing travel time and optimizing your schedule.
Basics to Remember
- The first appointment scheduled on a day sets the geolocation for that day.
- All subsequent appointments must work around the initial location.
- Control the drive time by setting the appropriate wrap-up/drive time and default address.
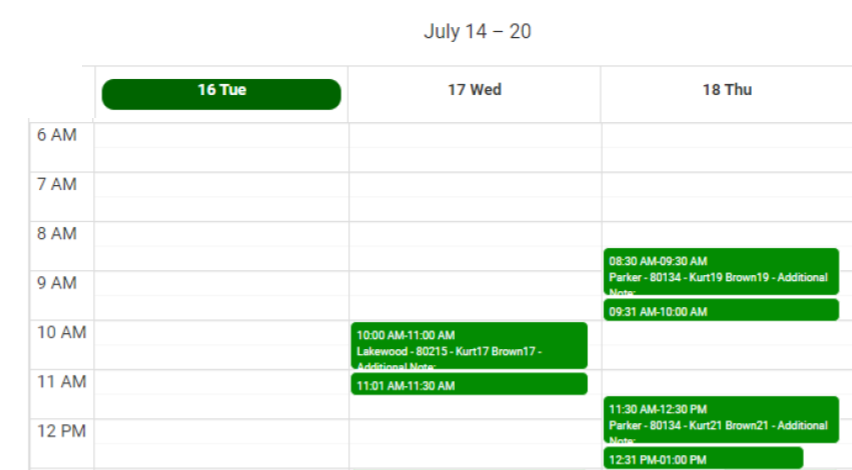
By following these steps, you can effectively set up and utilize ClientTether’s meeting scheduler to manage your appointments efficiently and minimize unnecessary travel time. Both the Main Appointment time and the Wrap-up/Drive Time will show on the calendar.